Introduction to Smart Light Switches
Introduction to Modern Illumination
Smart light switches have become a cornerstone of modern home automation, offering a new level of convenience and efficiency. They not only bring smart control to your home lighting but also promise energy-saving capabilities.
These devices are an excellent choice for those looking to integrate technology into their everyday domestic lives. However, understanding the nuances of smart light switch wiring can seem daunting at first. This part of the process is crucial, as the correct setup ensures not only functionality but also safety.
The Role of Wiring in Smart Light Switches
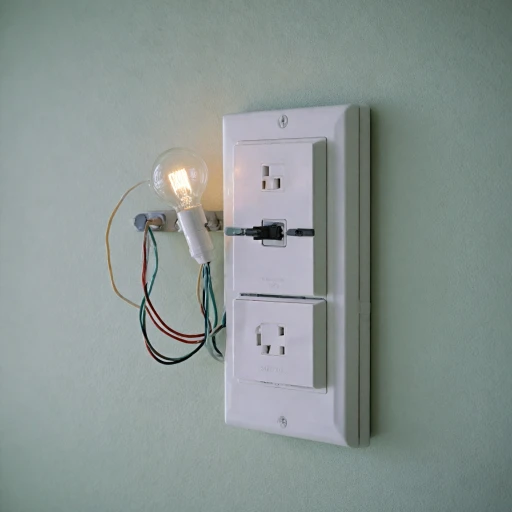
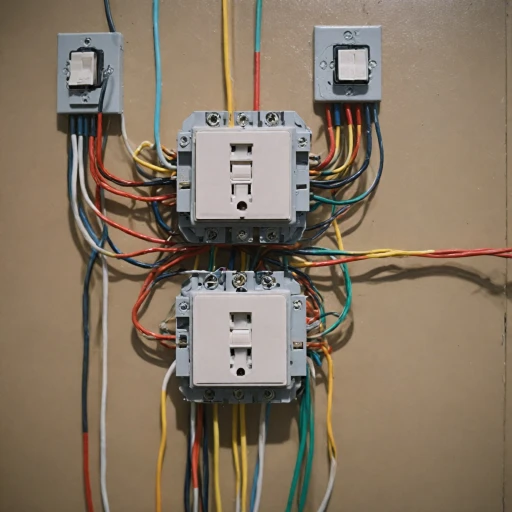
Smart light switches involve more complex wiring than their traditional counterparts. They typically require understanding both the power source and the various wires involved. To start, the black wire is often the hot wire, carrying power from your circuit to the switch. Contrast this with the white wire, which generally serves as a neutral conductor, helping to complete the circuit.
Similar to conventional systems, the ground wire in smart light switches plays a vital role in safety. Ensuring the ground wire is properly connected prevents electrical mishaps. Additionally, variant options like the type of switch and the configuration of light fixtures can affect the wiring setup.
Variety in Smart Switches
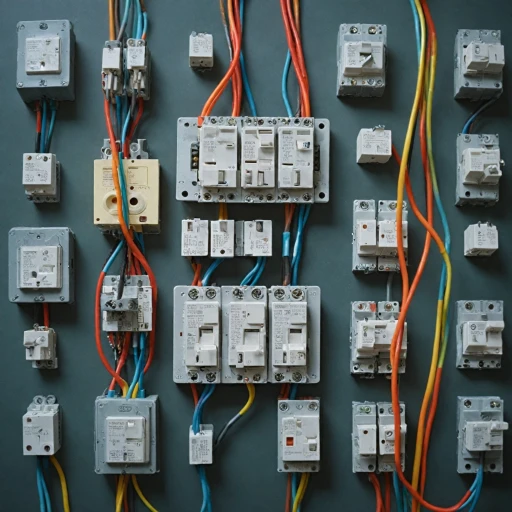
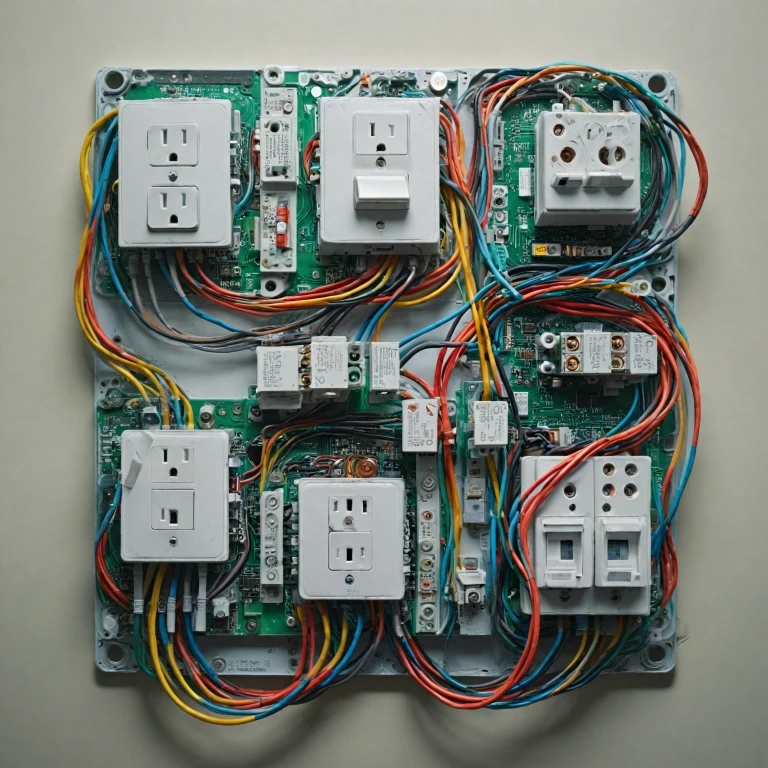
Smart light switches offer multiple variants and configuration options. A single pole switch controls a single circuit, while a three-way switch allows control of a light fixture from two different locations. Understanding the wiring diagram for each is fundamental to successful installation.
The choice of smart switch product greatly impacts the installation process and operational effectiveness. Whether you’re considering rocker, three switch options, or single pole, knowing the components of a wiring diagram is essential. These usually include the light, switch box, fixture box, and various color-coded wires.
Decoding Wiring Diagrams
Interpreting Wiring Diagrams for Your Light Switch
Understanding wiring diagrams is crucial when dealing with a smart light switch installation. These diagrams act as roadmaps, showing how different wires connect to form a complete circuit, ensuring your smart light functions efficiently. Before diving in, gather your tools and materials, including the chosen product, electrical tape, and screwdrivers. When you look at a wiring diagram, you will typically see several key elements:- Power Source: Identified by the primary point where electrical current originates, often marked as a power box or source.
- Switch Box: The location where your smart switch will be mounted in the circuit.
- Fixture Box: The point where the light fixture is connected.
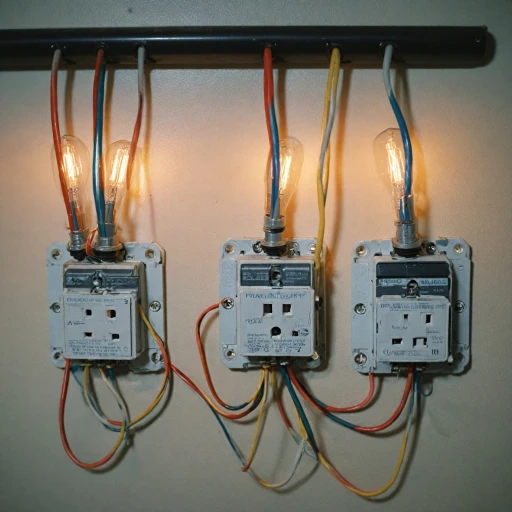
- Color-Coded Wires: Usually black (hot wire), white (neutral wire), and green or bare (ground wire), these are crucial in forming connections.
- Black Wires: Known as hot wires, they carry electricity from the power source to the fixtures and switches.
- White Wires: These are neutral wires that complete the circuit by carrying current back to the power source.
- Ground Wires: Providing safety, grounding wires minimize the risk of electrical shock by redirecting excess charge.
Step-by-Step Installation Guide
Detailed Steps to Install a Smart Light Switch
When embarking on the journey of installing smart light switches, understanding the wiring is crucial. This guide will walk you through the essential steps, ensuring that the wiring is done correctly and safely.
Turn Off the Power Source
Start by ensuring safety; turn off the power source at the circuit breaker. This avoids any potential electrical hazards while handling the wiring.
Remove the Existing Light Switch
Once the power is off, remove the cover plate using a screwdriver. Unscrew the old switch and carefully pull it out without disconnecting the wiring just yet, so you can reference the existing connections.
Identify Existing Wires
Take time to identify the black wire, which often serves as the hot wire, and the white wire, which commonly acts as the neutral wire. In some configurations, a third wire, usually bare or green, functions as the ground wire.
Consult the Wiring Diagram
Refer to the chosen product's wiring diagram to understand the switch box layout. The diagram will provide clarity on how to connect each wire to the new smart light switch's terminals.
Connect the Smart Switch
Connect the identified wires to their corresponding terminals on the smart switch. Typically, the black wire will connect to the black terminal, the white wire to the neutral terminal, and the ground wire to the ground terminal. Depending on the configuration, additional wires might be required for multiple variants or a three switch setup.
Secure Everything in the Box
Carefully tuck the wires back into the fixture box, ensuring no wires are pinched. Secure the new smart switch in place with screws and attach the cover plate.
Turn On the Power and Test
Finally, turn the power back on at the circuit breaker. Test the newly installed smart switch to ensure that your lights are now connected and functioning properly. If you encounter any issues, revisit your connections or consult our comprehensive guide on integrating smart technology to troubleshoot further.
Common Wiring Configurations
Exploring Common Wiring Configurations
Understanding the different wiring configurations for smart light switches is crucial to ensure proper installation and functionality. Let’s delve into some common wiring setups you'll encounter.Single Pole Configuration
The single pole setup is the simplest and most common configuration for smart light switches. It includes:- Power Source: This is where the switch gains its power. The hot wire usually connects to the switch in the switch box.
- Black Wire: Known as the hot wire, it carries electricity from the power source to the switch.
- White Wire: This is the neutral wire, completing the circuit back to the power source.
- Ground Wire: Ensures safety by preventing electrical faults. Typically connected to the green screw on the switch.
Three-Way Switch Configuration
Utilized when controlling lights from multiple locations, the three-way configuration involves more wires and a more complex setup. Essential components include:- Traveler Wires: Two wires that shuttle power between the two switches.
- Common Terminal: Connects to the power source or the light fixture, depending on the location.
Relay-Based Configuration
In more advanced smart lighting systems, relay-based configurations may be present. This involves:- Relay Switches: Work as intermediaries to control light fixtures, enabling remote and automated functions.
- Integrated System: Often part of a comprehensive smart home system, connecting to other smart devices for enhanced automation.
Troubleshooting Wiring Issues
Identifying Wiring Problems
A smart light switch setup can occasionally hit some roadblocks. Before diving into specific issues, it's crucial to ensure that all wiring configurations from the wiring diagrams are correctly followed. A meticulous approach here is key to avoiding electrical hazards.The Most Common Issues
- Loose Connections: Often overlooked, loose wiring can lead to inconsistencies in how your lights operate. Checking that all connections are secure within the switch box and fixture box is a simple yet effective step.
- Incorrect Wire Pairing: Misconnecting wires—especially confusing the black wire for the hot wire, or misusing the white wire—can result in malfunctions. Use a tester to ensure the hot wire is correctly identified.
- Circuit Breaker Problems: Sometimes, the issue isn't with the wires themselves, but rather with your circuit breaker. If a breaker trips, it might indicate a short circuit or overload. Investigate further if this persists.
Testing and Verification
Testing is vital. Use a voltmeter or multimeter to double-check voltages in your switches and fixtures. Confirm that the power source is live and the electrical flow is as intended. If a part of the circuit seems dead, ensure that all switch wiring has continuity.Common Fixes
Engage in a process of elimination:- Swap out a potentially faulty switch or light fixture with one that is known to work.
- Ensure the ground wire is consistently connected; missing ground wires can disturb functionality.
- Check that all wire nuts are tightly and securely fastened.
Professional Assistance
If you repeatedly encounter difficulties or troubleshoot without success, it might be time to consult a professional. An experienced electrician can accurately diagnose complex issues that arise from unique three-switch configurations or multiple variants of wiring. Resolving wiring challenges not only ensures your smart light switches operate smoothly but also safeguards your home from electrical risks. Always reference detailed wiring diagrams for precise guidance.Safety Considerations and Best Practices
Prioritizing Safety in Smart Light Switch Installations
When dealing with electrical components like smart light switches, ensuring safety is paramount. Whether you're working with a single pole switch or a more complex three switch configuration, following safety protocols is crucial to prevent accidents and ensure a successful installation.
Essential Safety Tips
- Turn Off Power: Always turn off the power source at the circuit breaker before beginning any work on your switch wiring. This step is vital to avoid electrical shocks.
- Use Proper Tools: Ensure you have the right tools for the job. This includes insulated screwdrivers and wire strippers, which help in handling wires safely.
- Check for Live Wires: Use a voltage tester to confirm that no wires are live before touching them. This is especially important when dealing with black wires, which are typically hot.
- Follow Wiring Diagrams: Refer to wiring diagrams for your chosen product to ensure correct connections. This helps in identifying the correct wire cable connections for your light fixture and switch box.
- Secure Connections: Make sure all wire connections are secure and insulated with wire nuts to prevent short circuits.
Best Practices for Long-Term Safety
- Label Your Wires: When dealing with multiple variants of switches and wiring configurations, labeling wires can prevent confusion during installation and future maintenance.
- Inspect Regularly: Regularly check your light switches and fixtures for any signs of wear or damage. Loose connections or frayed wires can pose safety hazards.
- Consult Professionals: If you're unsure about any aspect of the installation, it's best to consult a licensed electrician. They can ensure that your installation meets local electrical codes and standards.
- Ground Wire Importance: Ensure that the ground wire is properly connected to the fixture box or switch box. This provides a safe path for electrical currents in case of a fault.
By adhering to these safety considerations and best practices, you can enjoy the convenience and efficiency of smart lighting while minimizing the risks associated with electrical installations.