The Basics of 3-Way Switches
Introduction to 3-Way Switch Configurations
When embarking on the journey to understand smart lighting and the integration of Leviton 3-way switches, it's crucial to start with the fundamentals. A 3-way switch setup allows the control of a single light source from two different locations. This kind of configuration is particularly useful in rooms with multiple entry points, such as hallways or large living spaces. Unlike a single pole switch that offers a straightforward control, the 3-way switch provides a more flexible and versatile solution, enhancing your smart home setup.
Components and How They Work
In a typical 3-way switch wiring system, you will encounter several essential components:
- Switches: Comprised of two 3-way switches for one light.
- Common terminal: Each switch has a screw terminal to connect the copper wire.
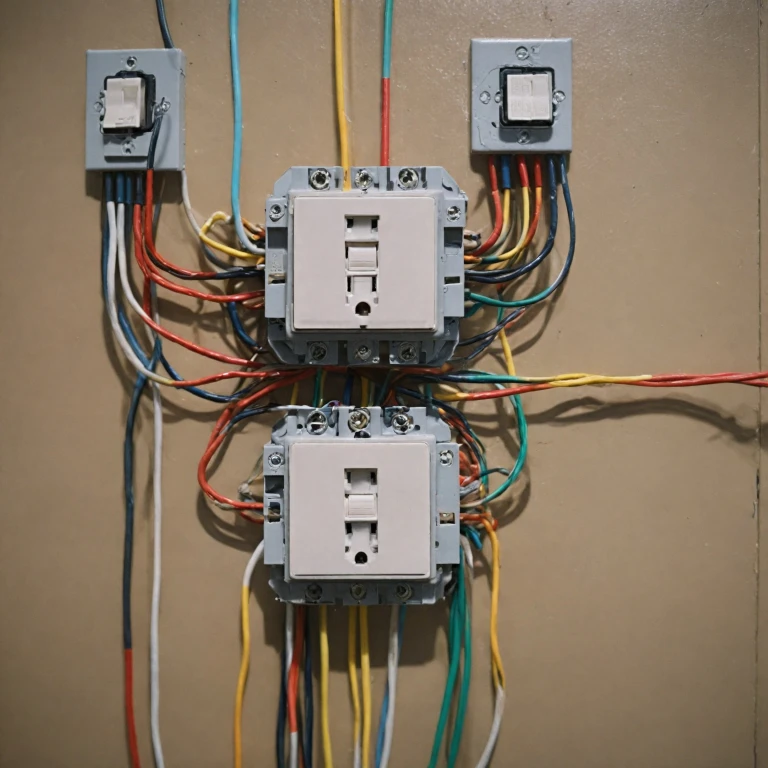
- Traveler wires: Two wires that connect the switches to each other.
- Light fixture: The light source that is powered by the switches.
These components work together to manage the electrical flow, allowing either switch to turn the light on or off, providing the flexibility that many homeowners seek.
The Role of Wire Types and Grades
Understanding the different types of wires used in your Leviton 3-way switch installation is vital for both performance and safety. It's standard to use copper wires due to their conductivity and compatibility with residential electrical systems. Additionally, opting for the right grade grounding and amp volt specification ensures efficient power management and minimizes the risk of electrical faults.
Leviton 3-Way Switch Features
Exploring Unique Features of Leviton 3-Way Smart Switches
Leviton 3-way smart switches are renowned for their versatility, allowing users to control a single light or set of lights from two separate locations. These switches really shine when integrated into a smart lighting setup, providing an elevated level of convenience and control.- Decora Style: The sleek Decora design of Leviton switches not only complements any interior but also provides an intuitive interface similar to that of a traditional rocker switch. This ensures familiarity while upgrading to smart systems.
- Wireless Controls: Opt for Leviton's wire-free options that offer wireless remote control. These switches can be linked with smart home systems, enabling control via smartphone applications or voice commands through compatible virtual assistants.
- Enhanced Compatibility: Leviton switches support a range of technologies, such as motion sensors and wireless connectivity, ensuring seamless integration with other smart home devices. This flexibility makes them suitable for both single pole and larger, more complex lighting configurations.
- Power and Safety Features: With grade grounding, these switches safeguard against electrical faults. Leviton's surge protection ensures that the electrical currents are managed safely, which is vital in preventing damage to sensitive smart devices.
- Animation Elements: Leviton smart switches incorporate user-friendly design with features like animation delays and child animation, subtly guiding user interaction with visual cues.
- Durable Build: Constructed with high quality copper mountings, the switches promise longevity and efficient power usage, operating smoothly under various amp volt ratings.
Step-by-Step Wiring Guide
Step-by-Step Wiring Instructions for Leviton 3-Way Switch
To master the process of wiring a Leviton 3-way switch, follow these detailed instructions to ensure your light switch setup is both effective and safe. Understanding the intricacies will pave the way for more advanced lighting controls in your home, allowing for more efficient power use.- Gather Your Tools and Materials: Before starting, ensure you have the necessary tools and components at hand, including the Leviton decora switch, copper wire connectors, and a smart switch companion. These will allow you to mount and control your lights seamlessly.
- Turn Off the Power: Safety is paramount. Switch off the power at the circuit breaker to prevent any electrical hazards during installation. Double-check the power is off using a suitable voltage tester.
- Remove the Existing Switches: Detach the existing light switches carefully. Taking note of the wire arrangement is crucial for accurate future reference.
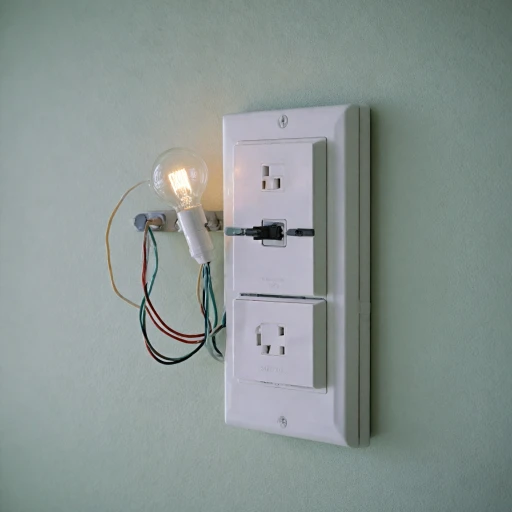
- Prepare the Wires: Strip about half an inch from the ends of each wire to ensure proper connectivity. Identifying each wire, typically a black, white, and ground wire, is vital for successful integration.
- Connect the 3-Way Switches: Begin wiring the Leviton decora switches by connecting the common terminal, often marked in black or copper, to one of the junction box wires. The traveler terminals should then link to the other switch controls.
- Mount the Switch: Carefully mount the wired switch back onto the wall. Ensure it is secure and that any grounding wires are properly connected, utilizing grade grounding techniques to avoid any electrical faults.
- Testing: Once the wiring and mounting are complete, restore power to the circuit. Test the switch to verify functionality, utilizing video tutorials or animation guides if necessary for troubleshooting.
Common Wiring Challenges
Identifying and Troubleshooting Wiring Hurdles
When working with Leviton 3-way switches, several wiring challenges might arise. These can be daunting, especially if you're new to smart lighting setups. However, understanding these common issues can help you troubleshoot effectively.
Misidentifying the Common Terminal
One of the frequent hurdles is misidentifying the common terminal on the switch. The common terminal is crucial for the switch to function correctly, as it connects to the power source or the light fixture. Leviton switches often have a distinct color or label to help identify this terminal. Ensuring that the common wire is correctly connected can prevent many operational issues.
Dealing with Older Wiring Systems
Homes with older wiring systems might not have the necessary copper wires or grounding required for modern Leviton Decora smart switches. In such cases, you may need to upgrade your wiring to accommodate the newer technology. This can involve adding a ground wire or replacing outdated power strips to ensure safety and functionality.
Challenges with Wire-Free Configurations
Wire-free configurations, while convenient, can introduce their own set of challenges. Ensuring proper wireless connections between the switch and your smart lighting system is crucial. Interference from other wireless devices or a weak signal can disrupt the functionality of your Decora smart switches.
Issues with Motion Sensors and Smart Controls
Incorporating motion sensors and other smart controls can complicate the wiring process. These devices require precise placement and correct wiring to function optimally. If your motion sensor isn't responding as expected, double-check the wiring connections and ensure that the sensor's view isn't obstructed.
Handling Combination Switches
Combination switches, like those that include a rocker switch and a quiet switch in one unit, can be tricky to wire correctly. These switches often require careful attention to the amp volt ratings and proper mounting on the wall. Incorrect installation can lead to issues with power distribution and switch operation.
By addressing these common wiring challenges, you can enhance your smart lighting setup and ensure your Leviton switches operate smoothly. Always remember to follow safety tips and best practices to avoid any electrical hazards during installation.
Enhancing Your Smart Lighting Setup
Optimizing Your Smart Lighting with Leviton
Integrating Leviton 3-way switches into your smart lighting setup can significantly enhance your home's functionality and ambiance. By understanding the wiring and features of these switches, you can make the most out of your smart lighting system.
Seamless Integration with Smart Home Systems
Leviton offers a range of smart switches that can be easily integrated with popular smart home systems. These switches, including the Decora Smart series, allow you to control your lighting through wireless means, using apps or voice commands. The Decora Smart switches are designed to work with various smart home assistants, providing you with flexibility and ease of use.
Advanced Features for Enhanced Control
Leviton's smart switches come with advanced features such as motion sensors and wire-free controls, which can be particularly useful for hands-free operation. Additionally, the quiet switch mechanism ensures that your lighting adjustments are smooth and unobtrusive.
Efficient Energy Management
By utilizing smart switches, you can also manage your energy consumption more effectively. Leviton's switches support features like surge protection and power strips, which help in reducing unnecessary power usage and extending the life of your lighting fixtures.
Considerations for a Smooth Installation
When installing these smart switches, it's crucial to consider the wiring type and the grade grounding requirements. Leviton switches are compatible with copper wires and are designed for easy mounting on the wall. Ensure that you follow the recommended wiring guide to avoid common challenges and ensure a reliable connection.
Enhancing Aesthetics and Functionality
With options like the rocker switch and single pole configurations, you can choose the style that best fits your home's decor. The combination of functional and aesthetic elements in Leviton's smart switches allows you to transform your space effectively, creating a seamless blend of technology and design.
Utilizing Visual Aids
To further aid in understanding and installation, Leviton provides video tutorials and animations that demonstrate the wiring process and the operation of their switches. These resources can be incredibly helpful for visual learners and ensure that your smart lighting setup is both functional and visually appealing.
Safety Tips and Best Practices
Prioritizing Your Safety with Smart Switched Setups
When dealing with smart light switches, ensuring safety is paramount. Here are some essential tips and practices:- Turn Off Power: Before you start any installation, make sure the power is turned off at the circuit breaker. This will prevent any electrical shocks or short circuits as you work with wires, be it copper wiring or other types.
- Use Correct Wire Type: Double-check that you use the proper wire type and gauge. Whether you're working with a decora smart switch or a Leviton Decora variant, the wire should match the recommended specifications to handle the amp volt requirements efficiently.
- Secure Connections: Every wire connection should be firm and tucked away to avoid any loose ends which could cause faults or fires. Leviton smart switches often come with detailed wiring diagrams; follow these meticulously for best results.
- Employ Surge Protection: Consider incorporating power strips with surge protection to safeguard against unforeseen power spikes which can damage sensitive smart switch controls.
- Adhere to Grade Grounding Standards: Ensure all installations meet local electrical codes and grounding standards for safety and efficiency.
- Test Your Setup: Once installed, thoroughly test your installation. Use the lever or rocker switch feature to verify proper operational range and control of your smart lights or signal via motion sensors.