Introduction to Smart Lighting Systems
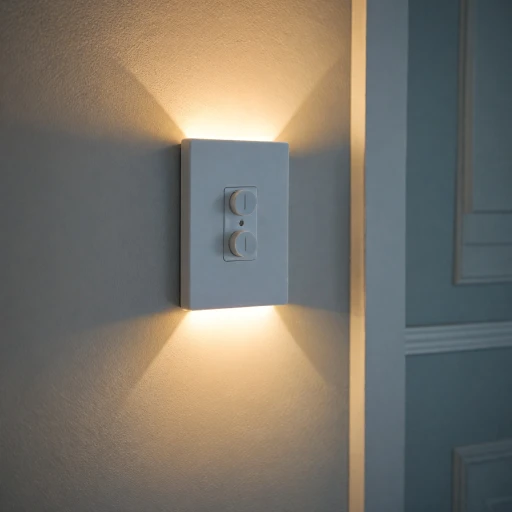
In today's rapidly evolving technological world, transforming your home into a smart haven begins with the integration of smart lighting systems. These systems offer unprecedented control, convenience, and efficiency, revolutionizing how we interact with light in our living spaces. Smart light not only allows you to manipulate brightness levels and colors but also lets you schedule when lights turn on or off, all from the comfort of your smartphone or through voice command.
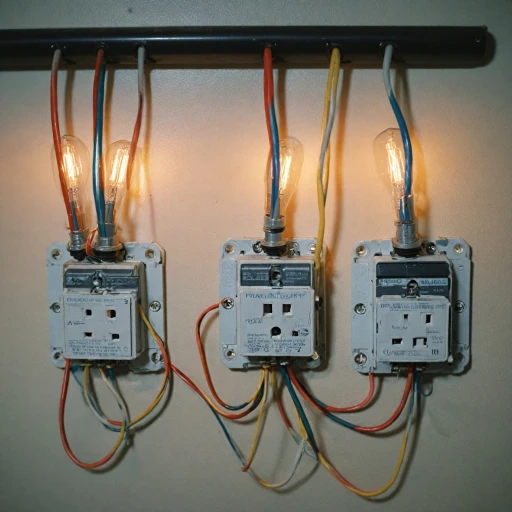
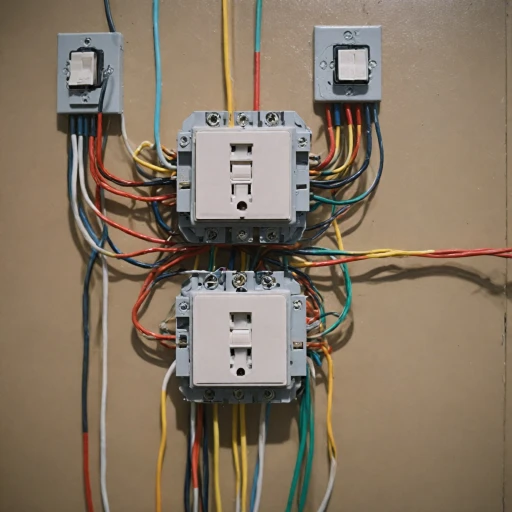
At the core of these systems are various types of switches, wiring, and controls, which enable seamless operation. One popular component in the realm of smart lighting is the three-way switch, a versatile unit that provides the flexibility of controlling a single light fixture from two different locations. These switches work hand-in-hand with your electrical system and require careful consideration during installation.
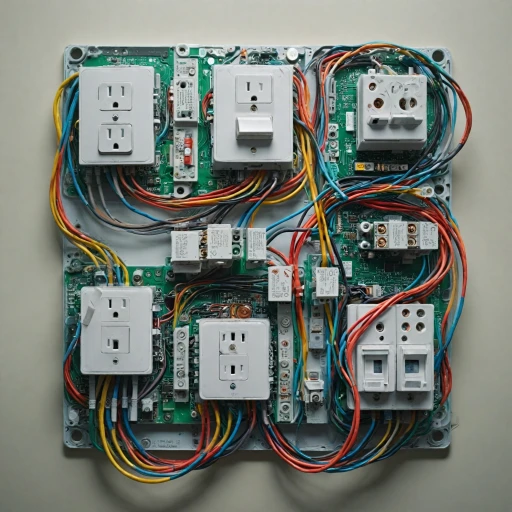
Incorporating smart lighting into your home involves understanding the intricacies of electrical wiring and wiring diagrams. These diagrams serve as vital tools, offering a visual representation of the electrical circuit, the light switches, and the flow of power. They often include symbols for wires, terminals, and connections, helping you grasp how everything integrates.
As you venture into the world of smart lighting, it's essential to get acquainted with the common terms such as single pole, common wire, light fixture, and switch box. A deeper understanding of these will not only aid in smooth installation but also bolster your capacity to troubleshoot when issues arise. For a comprehensive guide on this, consider exploring our in-depth post on understanding the 3-way switch wiring diagram.
Equipped with the right knowledge and tools, transitioning to smart lighting can be a straightforward process that yields substantial benefits for your home. Whether you're reviewing diagrams for accuracy, addressing challenges during installation, or adopting best practices, each step contributes to a more efficient and sophisticated living environment.
What is a Three-Way Switch?
Demystifying the Three-Way Switch Control
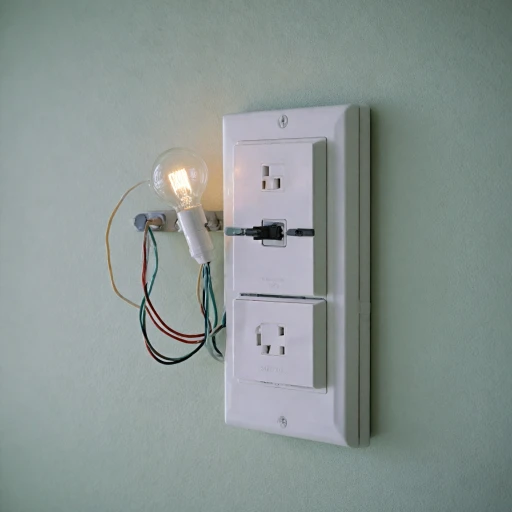
When discussing smart lighting systems, especially those involving a three-way switch, it’s crucial to understand how these components come together to control a single light fixture from multiple locations. Essentially, a three-way switch setup involves two switches to control one light, commonly found in hallways or large rooms. In a standard configuration, a three-way switch utilizes the following key components:- Black Wire: Often functions as the power or "hot" lead, connecting the common terminal in the switch box to the power source.
- White Wire: Typically designated as the neutral wire, allowing the electrical circuit to complete.
- Common Wire: This wire is crucial in three-way switch systems as it travels between switches, enabling light control from different locations.
Connecting the Dots with Three-Way Switch Wiring
Working with electrical wiring requires precision and understanding of circuit diagrams. Three-way switches are no exception, presenting unique diagrams and symbols often found in free download PDF formats. Recognizing these symbols is critical as they depict how wires connect and flow. Understanding these diagrams involves noting the following:- Switch Wiring Symbols: Recognize the differentiation between single pole switches and three-way switches.
- Electrical Circuit Paths: Identify how power travels through the circuit, switching paths as you operate different switches.
- Installation Steps: Guides usually detail how to properly set up these switches, emphasizing safety measures.
The Importance of Wiring Diagrams
The Significance of Electrical Wiring Diagrams in Smart Lighting
Understanding the intricate relationship between a smart light and a three-way switch system can be a daunting task, especially without a proper wiring diagram. These diagrams serve as a roadmap, guiding you through the maze of wires, switches, and connections, ensuring a successful and hassle-free installation. A wiring diagram provides a visual representation of the electrical circuit involved in your smart lighting system. It showcases the components, including the switch box, light fixture, and various wiring devices, along with their respective connections. Using wiring diagrams minimizes errors and helps troubleshoot issues effectively, especially when dealing with complex setups like three-switch systems.Why Three-Way Switch Wiring Diagrams Matter
- Visual Clarity: They offer a clear understanding of how the black wire, white wire, and common wire interact within the circuit. This is crucial for maintaining the functionality of light switches, ensuring they operate correctly.
- Troubleshooting Guide: Wiring diagrams highlight potential problem areas in your installation, allowing you to address issues relating to electrical wiring, such as faulty connections or misconfigured switches, before they become major headaches.
- Consistent Terminology: These diagrams employ common symbols and terms, such as single pole, way switch, and common terminal. Understanding these helps in grasping the purpose of each component in the circuit diagram.
Decoding a Three-Way Switch Wiring Diagram
Breaking Down the Three-Way Switch Wiring Layout
Understanding the intricacies of a three-way switch wiring diagram can seem daunting at first, but with a little patience, it becomes clear how these electrical components work in concert to control your smart lighting systems. Whether you're dealing with a diagram found in a PDF file or consulting printed instructions from your lighting kit, decoding these diagrams is essential for successful installation. One of the pivotal components of this wiring involves multiple switch boxes connected by various electrical wires, each serving a distinct purpose. Let's walk through the essential elements:- Black Wire (Common Wire): Typically, the black wire represents the live or "hot" wire, which carries electrical power from the source to the light fixture. This wire is crucial in completing the circuit.
- White Wire: Often referred to as the neutral wire, the white wire completes the electrical loop and carries the current back to the source once it has passed through the light fixture.
- Ground Wire: The ground wire isn't always depicted in standard wiring diagrams but plays a vital safety role by preventing electrical shocks.
- Red Wires (Travelers): In a three-way switch setup, traveler wires are used to carry current between switches. These red wires work in tandem with black and white wires.
Common Challenges in Wiring Smart Lights
Overcoming Obstacles in Smart Light Installation
When it comes to installing smart lighting with a three-way switch setup, several challenges can arise. Understanding these hurdles is vital for a smooth installation process.- Wiring Complexities: The wiring of a three-way switch can be intricate, especially when integrating smart lights. Mistakes in connecting the correct wires can lead to circuits not functioning as expected. Using a wiring diagram is crucial to visually navigate these complexities.
- Identifying the Common Wire: One frequent issue involves identifying the common wire, often referred to as the "hot wire." This wire is essential for proper electrical wiring connections and can vary in color from installation to installation, typically being the black wire. Ensuring you correctly identify this wire prevents connection problems.
- Switch Compatibility: Not all switches are compatible with smart lighting systems. Traditional switches and the newer three switch models often have different wiring requirements. It's important to confirm the compatibility of electrical devices before installation.
- Replacement of Existing Systems: Installing smart lights often involves replacing conventional light switches, which may require rewiring circuits or adjusting switch boxes. This can be a tedious task without the right tools or understanding of the circuit diagram.
- Troubleshooting Installation Issues: If issues arise post-installation, such as flickering lights or non-responsive switches, revisiting your wiring diagram and connections is necessary. Common problems usually stem from incorrect wiring.
Best Practices for Installing Smart Lighting
Ensuring a Smooth Smart Lighting Installation
Installing smart lighting can transform your home, offering convenience and energy efficiency. However, to ensure a successful installation, it's essential to follow best practices. Here are some tips to guide you through the process:
- Gather the Right Tools: Before starting, ensure you have all necessary tools, such as screwdrivers, wire strippers, and voltage testers. Having a circuit diagram handy can also be beneficial.
- Understand Your Wiring: Familiarize yourself with the wiring diagrams specific to your setup. Knowing the difference between a single pole switch and a three-way switch is crucial. Pay attention to the color codes, like the black wire for power and the white wire as a neutral.
- Check Compatibility: Ensure that your smart switches are compatible with your existing electrical wiring. Not all smart switches work with every type of switch box or light fixture.
- Follow the Wiring Diagram: Carefully follow the wiring diagram provided with your smart light switch. This will help you connect the common wire and other terminals correctly.
- Test the Circuit: Before finalizing the installation, test the circuit to ensure everything is working correctly. This step can help identify any issues with the switch wiring or connections.
- Seek Professional Help if Needed: If you encounter challenges or are unsure about any step, consider hiring a professional electrician. This ensures safety and compliance with electrical codes.
By following these best practices, you can enjoy the full benefits of smart lighting in your home. Remember, safety and understanding your electrical setup are key to a successful installation.